
Windscribe is a good choice if you want to try a VPN for free. It also collects decent grades: https://www.tomsguide.com/us/best-vpn,review-4292.html
From a certain point of view, the fact that it is not as widely advertised as the competitors maybe an additional advantage.
For most of OSes Windscribe is available from an on-line repositories, but also as packages of binaries deb, rpm, exe, browsers add-ons… and in the commercial version Pro features configuration-scripts for OpenVN.
Below is presented how to install it on a linux from deb-package, but not a deb/rpm-based
– Slackware 14.2.
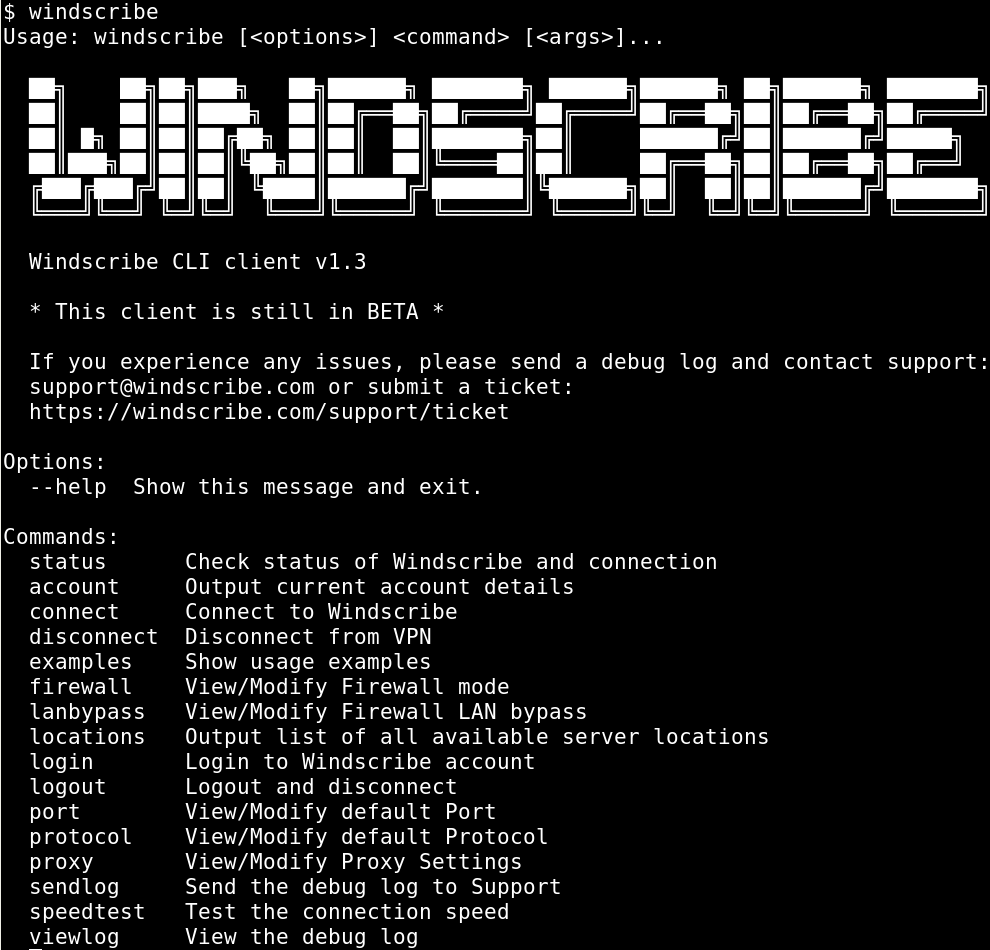
This a terminal screen-shoot.
All root's commands are prompted with '#' while user's with '$'.
But '#' in the middle of a line is for remarks.
Sign-up to Windscribe-webpage
which is a provider of the VPN-service. The process is trivial: on the main page, below “Log In”, find “Sign Up” and follow the instructions.
Download the deb-package
and then extract three files from. But firstly create a working-directory as an ordinary user.
$ mkdir windscribe
$ cd windscribe
Reach for a newest available version:
 $ wget --spider -r --no-parent https://windscribe.com/install/desktop/linux_deb_x64/windscribe-cli_1.3-19_amd64.deb
 Spider mode enabled. Check if remote file exists.
 --2019-02-07 07:28:23--  https://windscribe.com/install/desktop/linux_deb_x64
 Resolving windscribe.com (windscribe.com)… 104.20.75.194, 104.20.74.194
 Connecting to windscribe.com (windscribe.com)|104.20.75.194|:443… connected.
 HTTP request sent, awaiting response… 302 Moved Temporarily
 Location: https://assets.staticnetcontent.com/desktop/linux/windscribe-cli_1.3-19_amd64.deb [following]
 Spider mode enabled. Check if remote file exists.
 --2019-11-17 07:28:23--  https://assets.staticnetcontent.com/desktop/linux/windscribe-cli_1.3-19_amd64.deb
 …
Now download one of two (64 or 32) packet-versions by a browser from https://windscribe.com/guides/linux (“Give Me Binaries”) or by following commands:
$ wget https://windscribe.com/install/desktop/linux_deb_x64/windscribe-cli_1.3-19_amd64.deb
$ wget https://windscribe.com/install/desktop/linux_deb_x86/windscribe-cli_1.3-19_i386.deb
In the next part I refer to 64bit-version.
Unpacking the deb-package
should create three files
$ ar vx windscribe-cli_1.3-19_amd64.deb   # The GNU ar program
 x - debian-binary
 x - control.tar.gz
 x - data.tar.xz
One of these archives contains the needed files:
$ tar -Jtf data.tar.xz
 ./
 ./usr/
 ./usr/share/
 ./usr/share/doc/
 ./usr/share/doc/windscribe-cli/
 ./usr/share/doc/windscribe-cli/changelog.Debian.gz
 ./usr/share/doc/windscribe-cli/copyright
 ./usr/bin/
 ./usr/bin/windscribe
 ./etc/
 ./etc/bash_completion.d/
 ./etc/bash_completion.d/windscribe_complete
 ./etc/init.d/
 ./etc/init.d/windscribe-cli

$ tar -Jxvf data.tar.xz
Now the working-directory should look as follows:
$ tree
 .
 ├── control.tar.gz
 ├── data.tar.xz
 ├── debian-binary
 ├── etc
 │   ├── bash_completion.d
 │   │   └── windscribe_complete
 │   └── init.d
 │       └── windscribe-cli
 ├── usr
 │   ├── bin
 │   │   └── windscribe
 │   └── share
 │       └── doc
 │           └── windscribe-cli
 │               ├── changelog.Debian.gz
 │               └── copyright
 └── windscribe-cli_1.3-19_amd64.deb

8 directories, 9 files
Installation
is to copy files to a location indicated by the tar-archive (the tree above depicts it). Perform it as the root-user and then safely extend privileges.
$ sudo su # become root staying at present directory
# cp -iv usr/bin/windscribe /usr/bin
'usr/bin/windscribe' -> '/usr/bin/windscribe'

# chmod 755 /usr/bin/windscribe
# cp -iv etc/bash_completion.d/windscribe_complete  /etc/bash_completion.d/
'etc/bash_completion.d/windscribe_complete' -> '/etc/bash_completion.d/windscribe_complete'

# chmod 644 /etc/bash_completion.d/windscribe_complet
# cp -iv etc/init.d/windscribe-cli /etc/init.d/
'etc/init.d/windscribe-cli' -> '/etc/init.d/windscribe-cli'
The windscribe-cli will be launched in a root’s space therefore it is recommended to leave its minimalist privileges
# find / -name "windscribe-cli" -ls
 461140 4 -rwx------ 1 root root  837 lut 10 11:59 /etc/rc.d/init.d/windscribe-cli
<…>
 475604 4 drwx------ 2 root root 4096 lut 10 12:02 /usr/share/windscribe-cli
Kick-off the service
# /etc/rc.d/init.d/windscribe-cli status   # as root
 Stopped
# /etc/init.d/windscribe-cli start
 Starting windscribe … OK
# /etc/init.d/windscribe-cli status
 Running
and a user session
$ windscribe login
 Windscribe Username: ***
 Windscribe Password: ***
 Logged In

$ windscribe account
  ------- My Account -------
 Username: ***
 Data Usage: 334.66 MB / 10 GB
 Plan: 10 GB Free

$ windscribe connect best
 Connecting to Netherlands Amsterdam Canal (UDP:443)
 Firewall Enabled
 Connected to Netherlands Amsterdam Canal
 Your IP changed from *.*.*.* to *.*.*.*
See the new network interface
# ip addr
<…>
 5: tun0:  mtu 1500 qdisc pfifo_fast state UNKNOWN group default qlen 100
     link/none
     inet *.*.*.*/* brd *.*.*.* scope global tun0
        valid_lft forever preferred_lft foreve
Stopping and status
$ windscribe disconnect
 Firewall Disabled
 DISCONNECTED

$ windscribe status
 windscribe -- pid: 40627, status: running, uptime: 15h 8m, %cpu: 0.0, %mem: 0.2
 IP: *.*.*.*
 DISCONNECTED

$ windscribe account
  ------- My Account -------
 Username: ***
 Data Usage: 382.43 MB / 10 GB
 Plan: 10 GB Free
The CLI run by root is still active as well you are still logged up into Windscribe’s service (although disconnected). The command bellow will stop also CLI though there is a seldom need to do so.
# /etc/init.d/windscribe-cli stop
 Stopping windscribe … OK
Improvements
It is advised that windscribe-cli is started during a system start-up. It is achievable by adding the following lines to /etc/rc.d/rc.local
if [ -x /etc/rc.d/init.d/windscribe-cli ]; then
  /etc/rc.d/init.d/windscribe-cli start
fi
Obviously, the script should be executable.
# chmod u+x /etc/rc.d/rc.local
Using the free account at windscribe.com limits list of vpn-locations to about 20 and filtering it out would be useful:
$ windscribe locations | grep -v -e "*"
Have fun.
THE END